Hello,
Belated Happy New Year,
End of last year, I shared some swatches on my Instagram and Facebook page and asked my followers to guess the foundation. After all the guessing and anticipation, I wasn’t able to share the name and any details about the product because I wanted to reveal it in this post. Unfortunately, my websites back end had some issues that prevented me from posting anything.
Thankfully the issue has been resolved now and the cat is out of the bag.
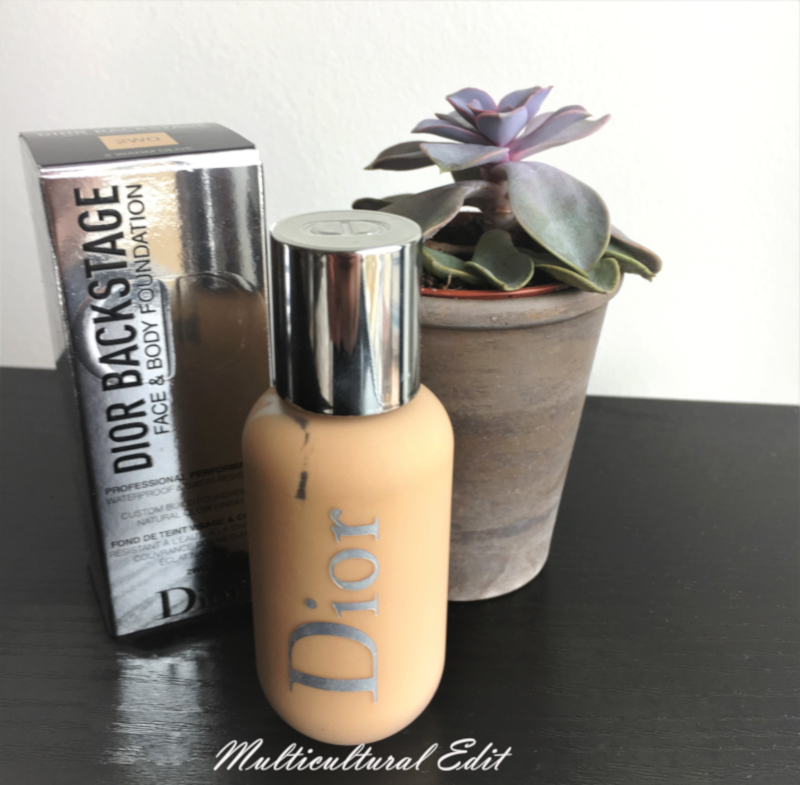
I got into the hype and bought the most famous and raved foundation from year 2018 – Dior Back Stage Foundation. Thanks to my lovely friend Pinky from Sephora for remembering me and sharing a 20% off friends and family coupon with me.
First, I’d like to share a little background story (Yes, I have a lot of stories and love sharing them). I was planning on saving all my money for the Sephora Fall/ Holiday sale and was already filling my cart with the items that I needed to restock and wanted to try. I was also running out of my foundations. So, I was thinking of trying out something new and Dior Backstage Foundation was on top of the list.
Unfortunately, this foundation is only available at limited Sephora Stores and none of those store locations are near me. Therefore, I couldn’t go instore to get a shade match and get a sample to try before spending my money on it. Hence, my last resort was to buy it anyways. Thankfully Sephora has a great return/exchange policy.
When Pinky shared the coupon, my first thought was to order the foundation. This way I’ll get to try the foundation and if it didn’t work out, I can always exchange it for my OG foundation during the Fall sale. Yes, I do all this planning to buy makeup.
So, a huge THANK YOU to Pinky for sharing that coupon with me. You’re the best. <3
Now, Let’s start the review:
- Price:
Dior being a luxury brand, I was thinking that the price of this foundation would be around $60. But when I saw the price on Sephora’s website, I was shook and couldn’t believe what my eyes were seeing. I had to check the Dior website to confirm. This foundation is only $40.
Yes, I know $40 isn’t cheap but being a product from a luxury brand, the price is amazing and less than most of the high-end brands, such as NARS, MUFE and Becca. And since, I used the 20% off, it cost me around $33 (not a huge price difference but I did save some money).
- Packaging:
Packaging of the Dior Backstage Foundation isn’t fancy/ luxurious like it’s other more priced/expensive foundations.
The foundation comes in a frosted style plastic bottle similar to MAC’s Face & Body foundation but has a better feel and look. It does not have a pump but there is a small plastic nozzle on the bottle to dispense the foundation.
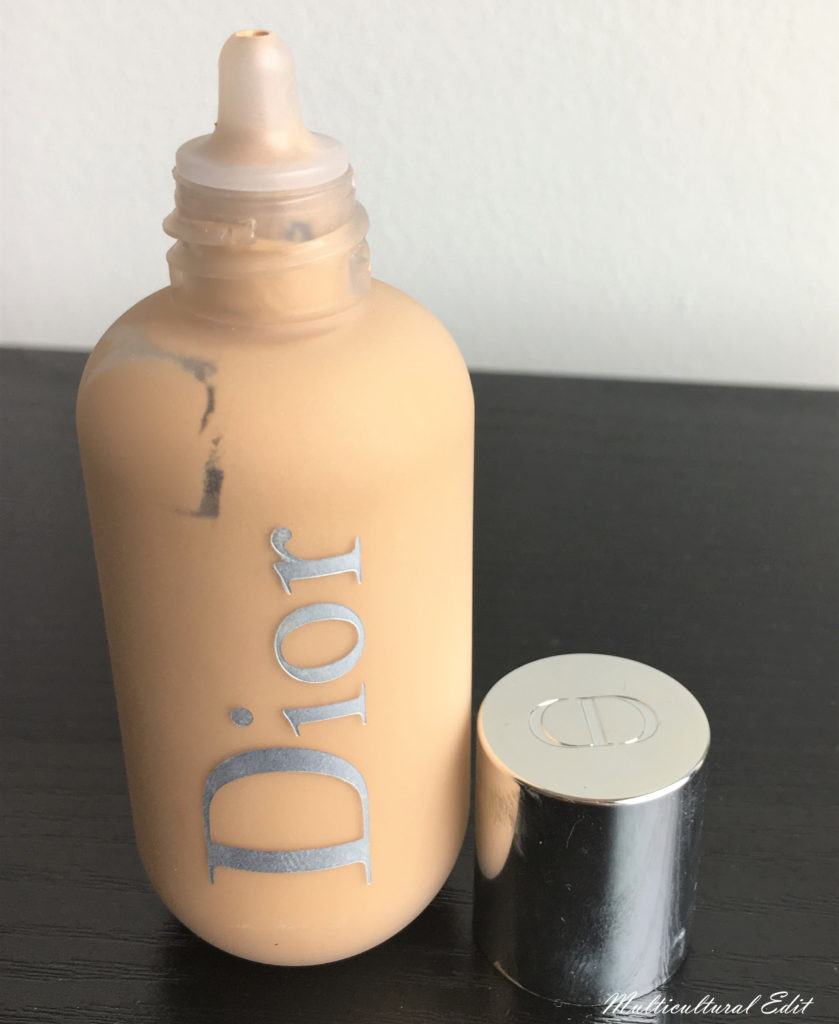
The plastic bottle packaging makes it travel friendly and a major plus for clumsy people with slippery hands.: p
I think the silver cap and the way “Dior” is written on the bottle in silver gives it a fancy look.
Also, the packaging justifies the not – so – high price of this Dior product.
Since, I’ve discussed the packaging and price of the foundation above; I’d like to add one more pro about the foundation is that you get 1.6oz/50ml of product which is more than the regular 1oz/30ml of foundation we get from the other brands.
- Ingredients:
The 3rd ingredient in the foundation is alcohol, which isn’t good for any skin ( one of a con for me). Also, the foundation is heavily fragranced and has ‘Parfum’ in the ingredients and you can smell the perfume in it.
- Shade:
The shade range of the foundation is amazing. It has 40 shades with 5 different tones. Hence, you’ll definitely find your perfect shade in this foundation.
As, I mentioned in the beginning that I couldn’t get a shade match instore; I had to take help from online swatches and foundation match finders. The struggle was real and plus I hate taking risks when it comes to finding the right shade in foundations. So, for few days I would share every other swatch picture with my mom, khala (mother’s sister) and my bff – Sa’adia. I also watched loads of YouTube videos of influencers close to my skin tone. The more I searched/watched swatches, the more confusing it got.
Finally, I remembered that my friend Abeer had also tried this foundation and most of the times we are matched to the same foundation shades. I contacted her and at last got the shade match. (No need to roll your eyes; I know too much drama into finding a foundation shade. But I don’t take the risk.)
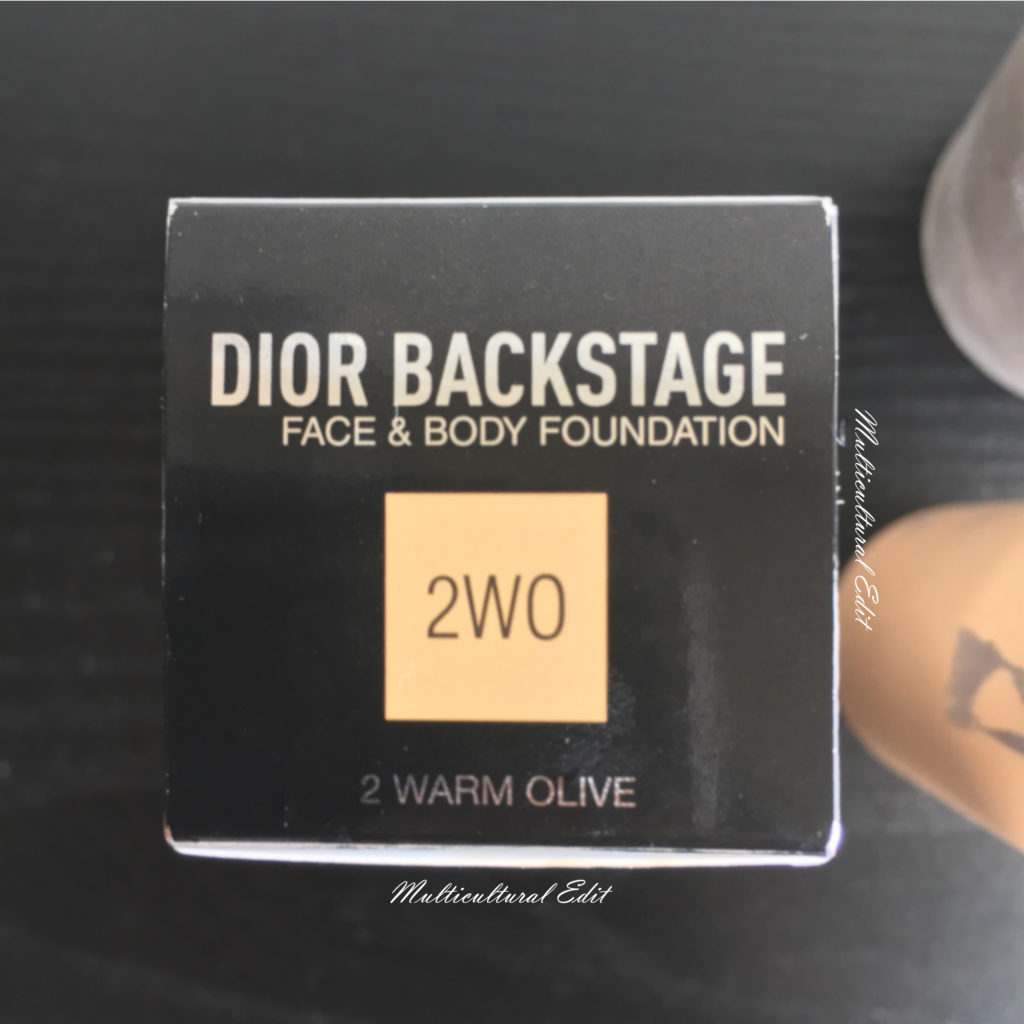
I ordered shade 2WO (Warm Olive). It was 98% my perfect match.
- My Skin Color/Tone: For reference, I’m Medium/Light South Asian (Brown Skin) with neutral undertones leaning more towards warmer side. And it’s usually a struggle for me to find my perfect shade in any foundation; because some are too yellow for me and make me look like an Oom-pah Loompa; others are too pink and with in few minutes of application oxidizes and give an ashy/grey look.
- Foundation Matches from other brands: For further reference, I’m shade NC 25 – NC30 in MAC Studio finish foundation, Shade C3 in MAC Face & Body foundation, Shade Y335 in Makeup forever Ultra HD liquid foundation (I also match to Y315 depending on the season), Shade 06 Ginger in Bare minerals Complexion Rescue Hydra Gel and Shade 5.75 in Giorgio Armani Luminous Silk Foundation.
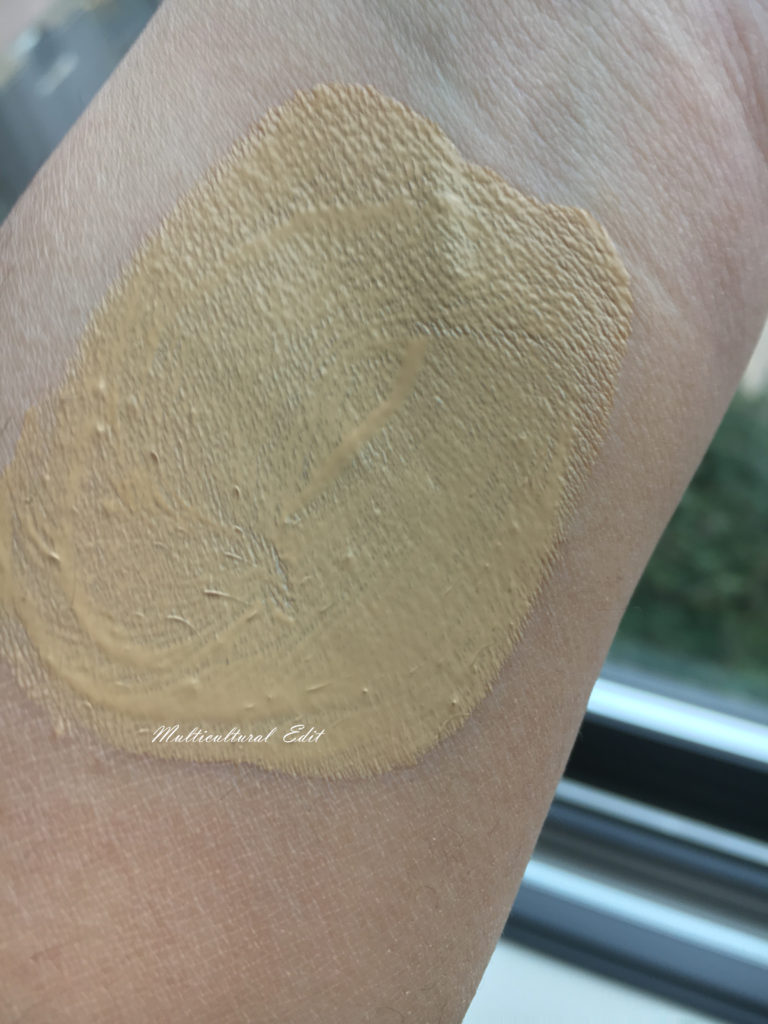
Foundation swatch after blending 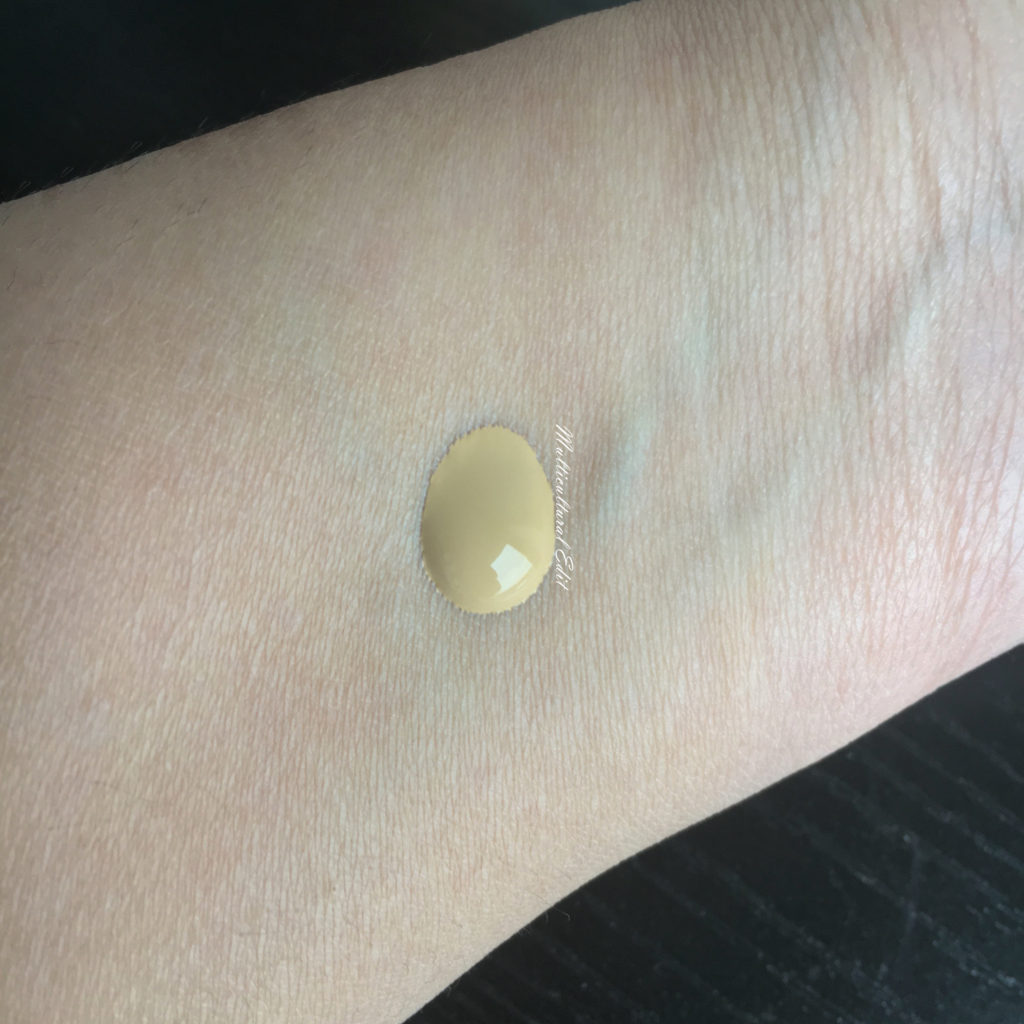
Foundation swatch before blending
P.S: If you have the similar foundation matches than 2WO in Dior Back Stage Foundation is your perfect match.
- Application:
It is a liquid foundation. Therefore, you have to shake well before the application process. Also, be careful when opening the bottle right after shaking it, because it tends to overflow from the nozzle.
The consistency of the foundation isn’t very watery like the MAC Face & Body foundation nor mousey like Bare minerals complexion rescue hydra gel; it was quite similar to the Makeup Forever ultra HD foundation.
It is advertised as a light to buildable full coverage foundation. I’m not exactly sure about the full coverage claim as I didn’t try making it full coverage; because I’m a person who loves sheer to barely medium coverage foundations. I have Combination/ Dry skin and prefer dewy/ luminous foundations.
It is a satin finish foundation and claims to give a natural look even after three applications.
Before applying the foundation, I followed my skin care routine that I follow before the application of any other foundation and used my OG First Aid beauty coconut smoothing primer.
I tried applying the foundation the three best known ways to mankind; i.e. with fingers, sponge & brush.
- Application with Fingers: It’s a messy way but also one of the easiest ways to apply foundation. Fingers warm up the product and give an even application all over the face. And this was the recommended method by Wayne Goss for this foundation.
I used 2 squirts of foundation to apply it with fingers on my face. It applied easily and evenly and gave smooth finish. I just had to work a bit more near the crevasse of the nose. I had to tap it out with my finger so it doesn’t gather around it.
- Application with a Sponge/beauty Blender: My favorite method to apply any foundation is with a Beauty Blender/ Sponge.
Beauty Blender always gives a smooth even finish to the foundation, right? Well, in this case beauty blender didn’t do as good of a job as the fingers.
First, it soaked up a lot of product and then the application was patchy. In some areas I could see my skin and some acne spots. Moreover, it also kind of emphasized my skin texture and clung on to some dry spots. Even though I had applied it on top of loads of moisturizers and skin hydrators.
I also felt like the more I went over the foundation with the beauty blender to even it out and cover the texture and some discoloration, it emphasized my texture more and basically moved the foundation as well.
- Application with a brush: I saw most of the YouTubers applying this foundation with a brush for a better coverage. Hence, I applied it with my IT cosmetics air brush brush#110. With all the other foundations this brush always gives a smooth even application. But with this foundation, the application was streaky and it felt like the foundation is sitting on top of skin. It emphasized my pores too.
P.S: This foundation dries down pretty quick so you have to work really fast in applying all over your face.
- Wear:
It claims to be water proof and long lasting. Well, the claims are all true but it does transfer if you touch your face. I had it on for at least 8- 9 hours and I didn’t apply any setting powder nor any setting spray. The foundation lasted well. As the time passed, my skin felt drier and the foundation started cracking and settling in to my smile lines.
All the foundations I have tried till now have never cracked/broken on me and also, they never settled into my smile lines. I never knew that I have started getting smile lines. And as time passed it started feeling heavy on the face.
Although, this foundation also claims to give a natural my skin but better look; I’d disagree with it. When you apply it initially, it does give that soft glow from within look; but as soon as it dries down completely, it looks like you are wearing foundation and that too with only with one application.
After taking it off, I applied loads of moisturizer because my skin felt extremely de-hydrated.
- Conclusion:
The best way to apply the foundation is with fingers but make sure to moisturize your skin well. If you have oily skin you can use a setting powder at the end to set the foundation in order to get longer wear. But if you have dry skin then stay away from the setting powder.
Overall, if you have oily skin and want to enjoy a luxury foundation in a reasonable price. Then this foundation is really good. But to all my fellow dry skin people, I would recommend to stay away from it.
Also, people with sensitive skin, it’s better to test a sample before committing. Because perfume and alcohol can cause a break out.
I was really hoping and looking forward for this foundation to work. But, unfortunately, I’ll be exchanging it for a restock of my Makeup Forever Foundation.
If you have tried this foundation and had a different or similar experience, I’d love to read your reviews in the comments below.
Until next time – XOXO


